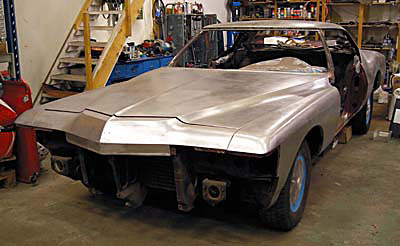
In January 2005 I had the opportunity to move my Riviera to my friend Zoran’s auto shop and there I could finally start the body restoration. This was going to be the hardest step of the restoration so far and it took me until April 2006 to get the body ready for the paint shop.

I took everything out from the car, except for the engine and transmission.
Then I began striping of the paint from the parts of the body that I knew was bad.
Later on I decided to strip all paint of.
The main reason was because the car had been repainted ones before and you can never be sure what’s underneath and also how the new primer will react with the old paint layers.

Some lower parts of the body were bad and I had to fabricate a couple of new sheet metal pieces.
Now the experience from the floor pans came really handy.
But when I had to replace the lower back end of the trunk lid, my limited experience wasn’t really enough.
Another friend Emil, who I met through Zoran a couple years ago, came to the rescue.
He made the two pieces needed during a couple of evenings. Very helpful and very educational for me. He also taught me how to fill and seal all weld seams by melting tin.
Old school but really the best way to do it. Not the fastest way but I really enjoyed it.
Thanks Emil!
Now, what color should I chose for my Boattail? The original Burgundy Poly (code 74) or something else?
For the last two years I kept looking for suitable colors on cars everywhere, because I knew I had the body restoration ahead of me and I didn’t want it to be a last minute decision.
I saw a couple of Volvos in a color I liked and some of them looked great but some just didn’t. I couldn’t understand why.
So I went to the local Volvo dealer and made some research. As it turned out, there
are two colors that are very similar and when I could see them side by side I knew which
one was the right for me.
Now, here is how much of a nerd I got over this…
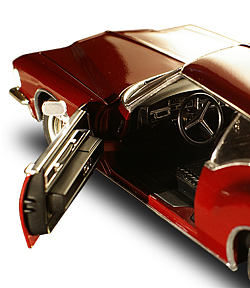
I had a diecast model of a 1971 Riviera that was painted in gold metallic with a brownish vinyl roof and tan interior. I started a mini project on my kitchen table, sometime during the winter of 2006. This was a couple of months before the big one was ready for the paint shop.
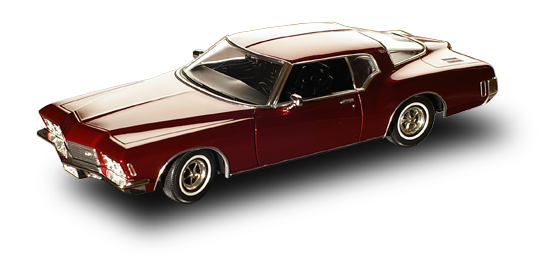
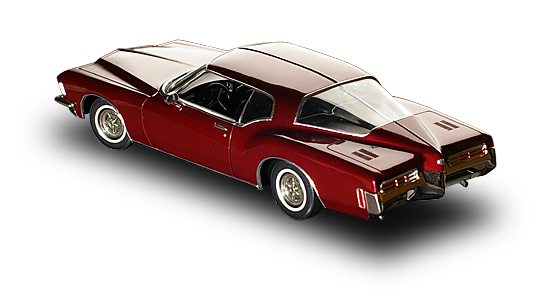
 I took the model apart and airbrushed the body with the Volvo (code 454) paint and the interior in black, just so I could get a feel of how the Riviera shapes would look like in that color.
As you probably already know, different body shapes look good or bad in the same color.
I also took the vinyl top off the model car before painting it. I had to fill the roof with about ten layers or so of primer, because it was too low when the vinyl was off.
I also had to recreate the fold that goes along the roof. It wasn't there under the vinyl.
After the paint was applied I fitted a chrome foil for models, called "Bare Metal" on all moldings, both on the exterior and interior.
Yeah I know, I’m officially crazy ;-)
I finished by applying clear coat over the whole thing so that the sensitive chrome foil would be protected.
Here are a couple of photos of the finished model Riviera.


I was really happy with the result of the model and decided that I would go with the Volvo color. I chose the Volvo paint for three reasons.
It is close to the original but a little less brown and a little clearer in my opinion.
I think it will be a lot easier to get a good result, if I in the future have to repaint any part of the body, if the car is painted in a color that any paint shop here in Sweden is familiar with.
The main reason though is that I really like this one a lot better and it is close enough to the original.
When I was ready with the real Riviera, the entire body was metal clean. Then a paint shop took over the car.